In my research for my Master’s thesis, I had to generate the shadows of mountains over a landscape, not just hillshade but actually the projected shadow of mountains over valley bottoms, to get a little closer to the actual solar radiation hitting the ground. I needed to do this computation for each day of the year and multiple times a day. I also needed a high enough resolution because it was for scientific purposes, the higher resolution, the better results in theory. This post is a description of my method, such that it could be replicated.
In order to compute the incident solar radiation on a surface, we need both the surface information and the incidence of the sun. The surface information is a DEM of your choice, QGIS will know how to use it. I used a 30m DEM of my study area in northern Montana. The sun location requires a bit more work. At a given date, time and location, the sun will have a given altitude (smallest angle between the horizon and the sun) and a given azimuth (angle of the projection of the sun on the Earth surface to the north). For a large area (define large …). You may need to compute the sun’s location at every location because in the northern hemisphere, the sun will appear lower in the sky (smaller altitude) the further north you go, but in a small enough area like the one I considered, at mid-latitudes, I made the simplification of only considering one sun azimuth and altitude.
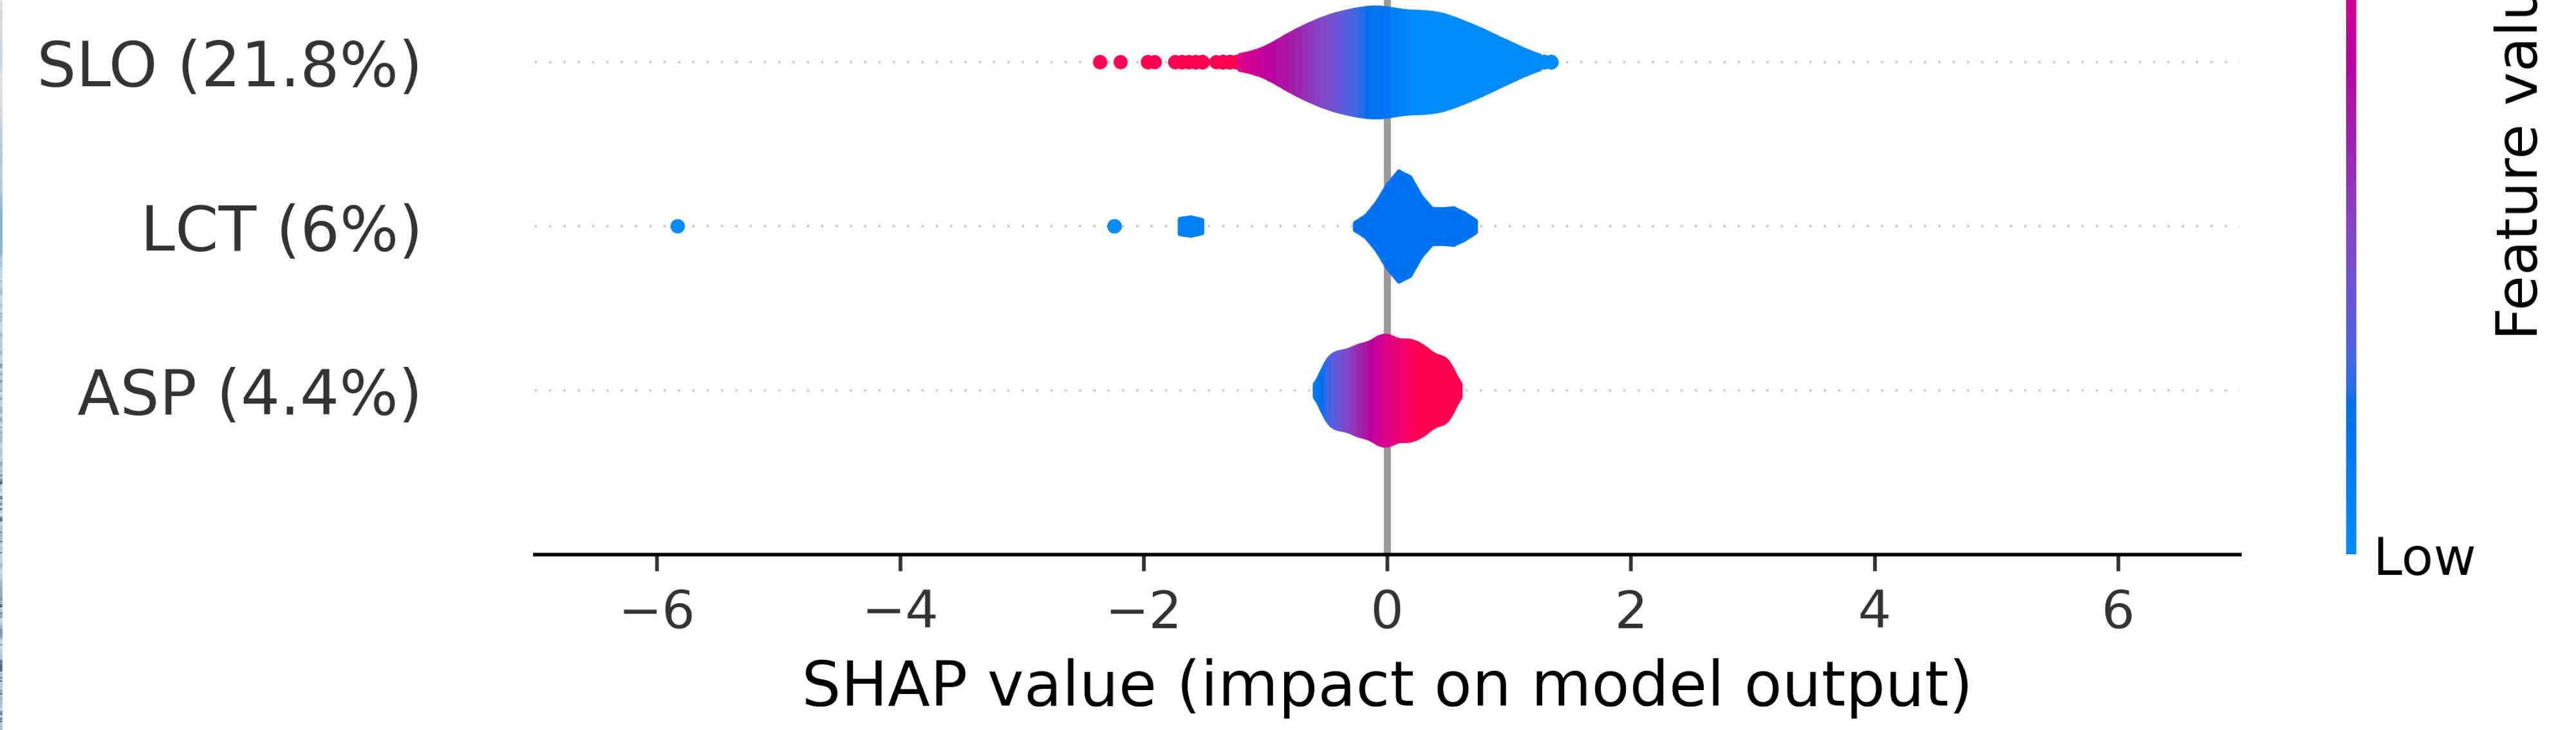
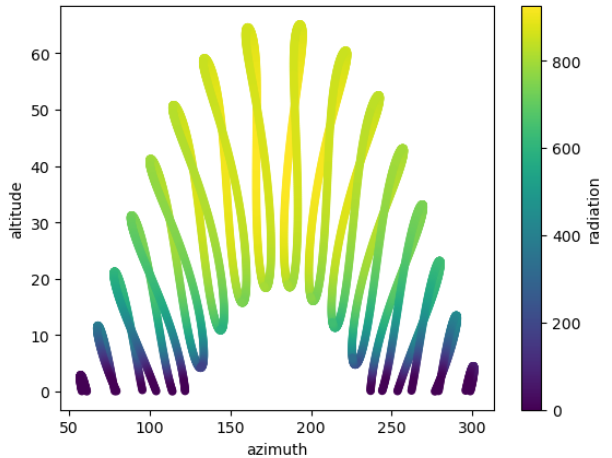
I computed the sun azimuth at hourly resolution for a whole year using the code at this address, using the python library pysolar. I investigated the importance of time resolution and found about 0.5% of cumulative sun radiation difference between hourly and 10-minute computation (code for this comparison). To verify that the numbers output by pysolar are not absurd, I plotted all the sun azimuths, altitudes and colored them with the intensity of the incident solar radiation, for a given hour of the day, we find what resembles analemma, as can be seen on the following image. This is encouraging, but should be considered with caution still.
I am no QGIS expert, but I have come to use it on occasion, particularly I have found this cool plugin called “Terrain Shading” developed by Zoran Čučković. He talks in depth about his plugin, its methods and outputs on his website and with further explanation on this blog, I will now solely focus on the automatization of the call of this plugin. /!\ IMPORTANT: For reasons mentioned in this article, the DEM must be in a metered CRS, this is was the plugins can use, the use of latitude and longitude will result in distortions and will probably not even work for this project. The idea is simple: the function “Shadow depth” of the plugin computes the height of the shadow column at a given location, you may keep this information, I simply picked a threshold of 5m and assigned 1 to any cell with >5m shadow depth, and 0 otherwise. I then up-sampled my map to go from 30m to 1km resolution for the sake of my work.
This plugin is great, but at hourly resolution for a whole year, no way I will repeat this task manually thousands of times! This is where the QGIS console comes in handy. This is where things become a little bit tricky too. You need the “processing” and “pandas” libraries, accessible from the QGIS console. There may be ways that I do not know about, but the following wat worked for me: I am on Linux, I use miniconda to handle python environments, one of them is dedicated to this work, the following steps apply:
The python script that I wrote must then be called manually by you from the console, you can find it at this link. This is a very short code that will produce one raster (“.tif” file) per time step considered. Remember to take a buffer outside your exact working area to consider the shadows of landscape outside your working area.
The code does the following things:
The call of the function should be quite straightforward, the parameters used too. You can also see the organization of my folders and how I save the computed shadows.
You end up with numerous files that are ready for processing! If you have any question about this work, would like guidance or make suggestions or corrections, feel free to reach out at my contact email that can be found on this website. I am no expert and might have done mistakes, I would welcome your expertise and help.